Many cultures use crystals and stones in a variety of ways. We’ve noticed a current trend and interest in the Asian practice of healing, enhanced by the crystals’ properties, both in their selection and arrangements. There is a beautiful, creative connection as well, and encouraging creativity is healthful for everyone!
We were inspired to translate the patterns or grids used for crystals onto cork. Cork fabric has visual and tactile features that invites use (and we believe, adds to the creative experience). The arranging of crystals and stones on a grid is usually intended to be temporary, meaning a lovely, easy-to-sew cork grid can be used and enjoyed many times.


Join me, and let’s give it a try!
DOWNLOAD THE FREE PATTERN TEMPLATES HERE!
Watch the step-by-step video tutorial and written instructions below!
MATERIALS & SUPPLIES
- One 11” wide piece of cork
- Sewing thread such as Sulky 40 wt. Poly Deco
- Basting spray such as Sulky KK2000 or Double-sided basting tape
- Scissors
- Removable marking pen or chalk
INSTRUCTIONS
- Print out one of the Crystal Grids Templates and the Quarter Circle Template.
- Trim the pattern along the marked top and bottom horizontal lines. Also cut out the Quarter Circle Template.
- Cut one smaller 10” by 10” square and one larger 11” by 11” square from the cork fabric.
- On the Wrong Side of the small 10” cork square, mark the center along each edge.
- Spray the wrong side of the paper pattern with basting spray. Or, apply pieces of basting tape to the outer edges of the paper pattern. Center the pattern over the Wrong Side of the marked 10” cork square and press in place with your fingers.
- Topstitch, following the printed design on your paper pattern. Take your time, try lowering the needle into the fabric and pivot the project for smoothly stitched curves. Experiment with using a triple straight stitch for a heavier stitch line.
- Once topstitching is completed, gently tear away the paper.
- Use the Quarter Circle Pattern to round all four corners of the stitched square.
- Place the larger 11” square on the work surface, Wrong Side Up.
- Spray the Wrong Side of the stitched 10” circle (or add pieces of basting tape), then center it over the 11” square. Press in place with your fingers.
- Topstitch, following the curved edge, with 1/8” allowance.
- Trim away the bottom layer, following the top circle’s edge.
Your Crystal Grid is completed and ready for crystal arrangements!
We think it’s pretty all by itself as a table centerpiece. And if you don’t have crystals, maybe a variety of colored cork shapes or craft supplies would be fun to arrange. And, be sure to include your youngsters in your crafting as well for a fun, family project!
The mesmerizing crystal craft can inspire as well as heal. We’d love to see photos of how you create using cork fabric as part of your creative exercises and therapy.
CRYSTAL STORAGE IDEAS
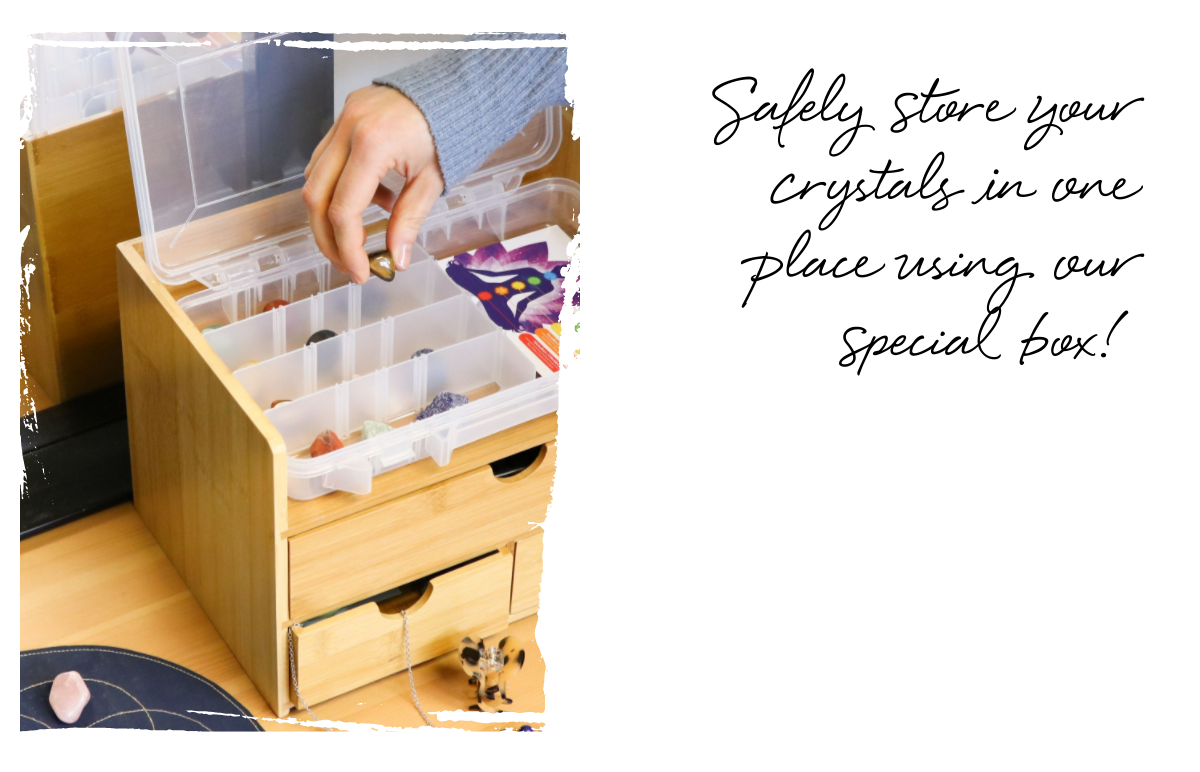
Use our Clear Plastic Storage Compartment Boxes, or our FREE Tray or Basket pattern to keep all of your crystals in a safe spot! Display your crystals openly with the tray pattern, or adjust your compartment box to fit all of your precious stones with ease!


Thank you for sewing with me and all of us at Sallie Tomato wish you the best creating day!
Kate from Sallie Tomato


Leave a comment